
Table of contents
Introduction
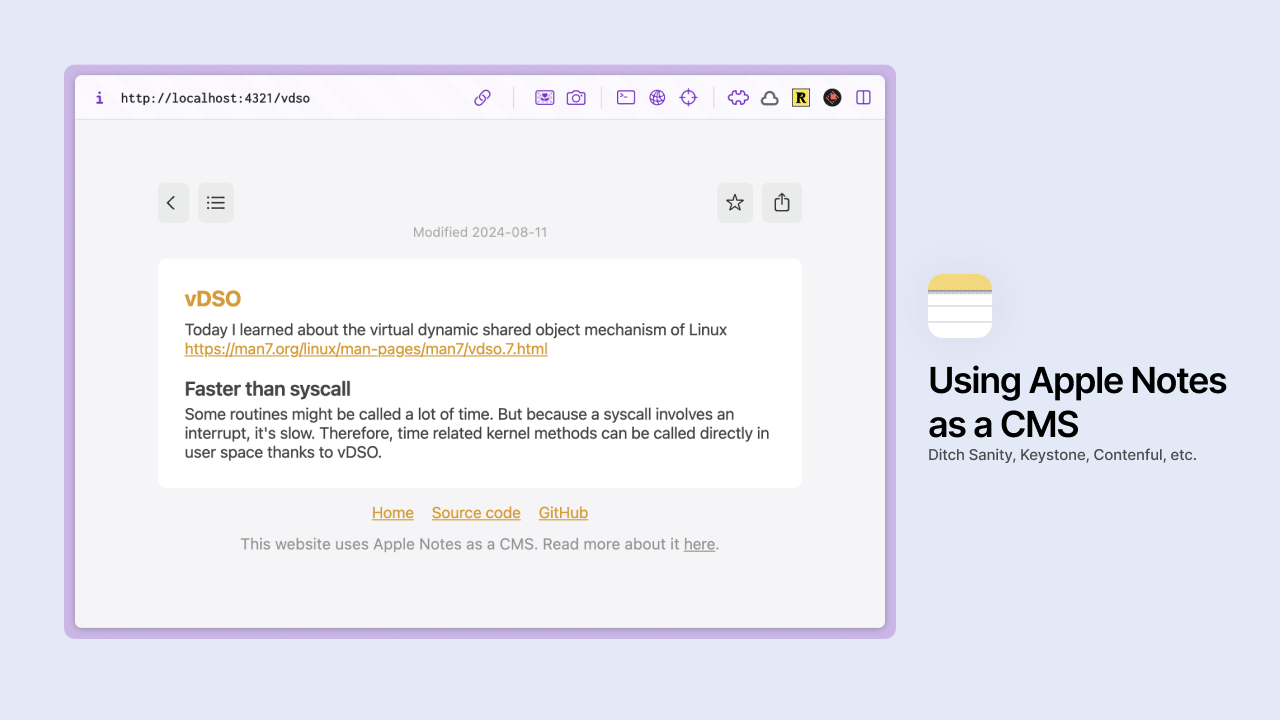
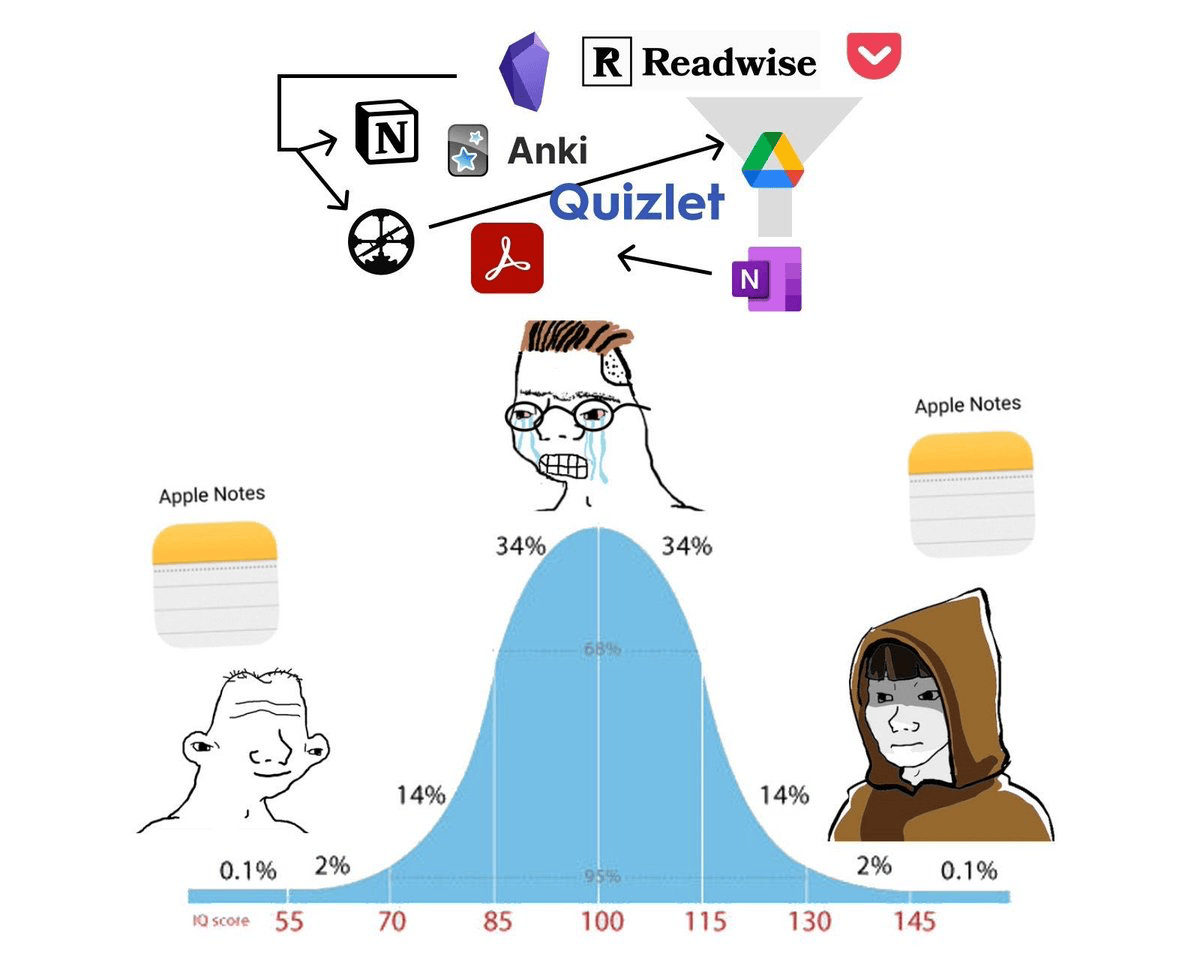
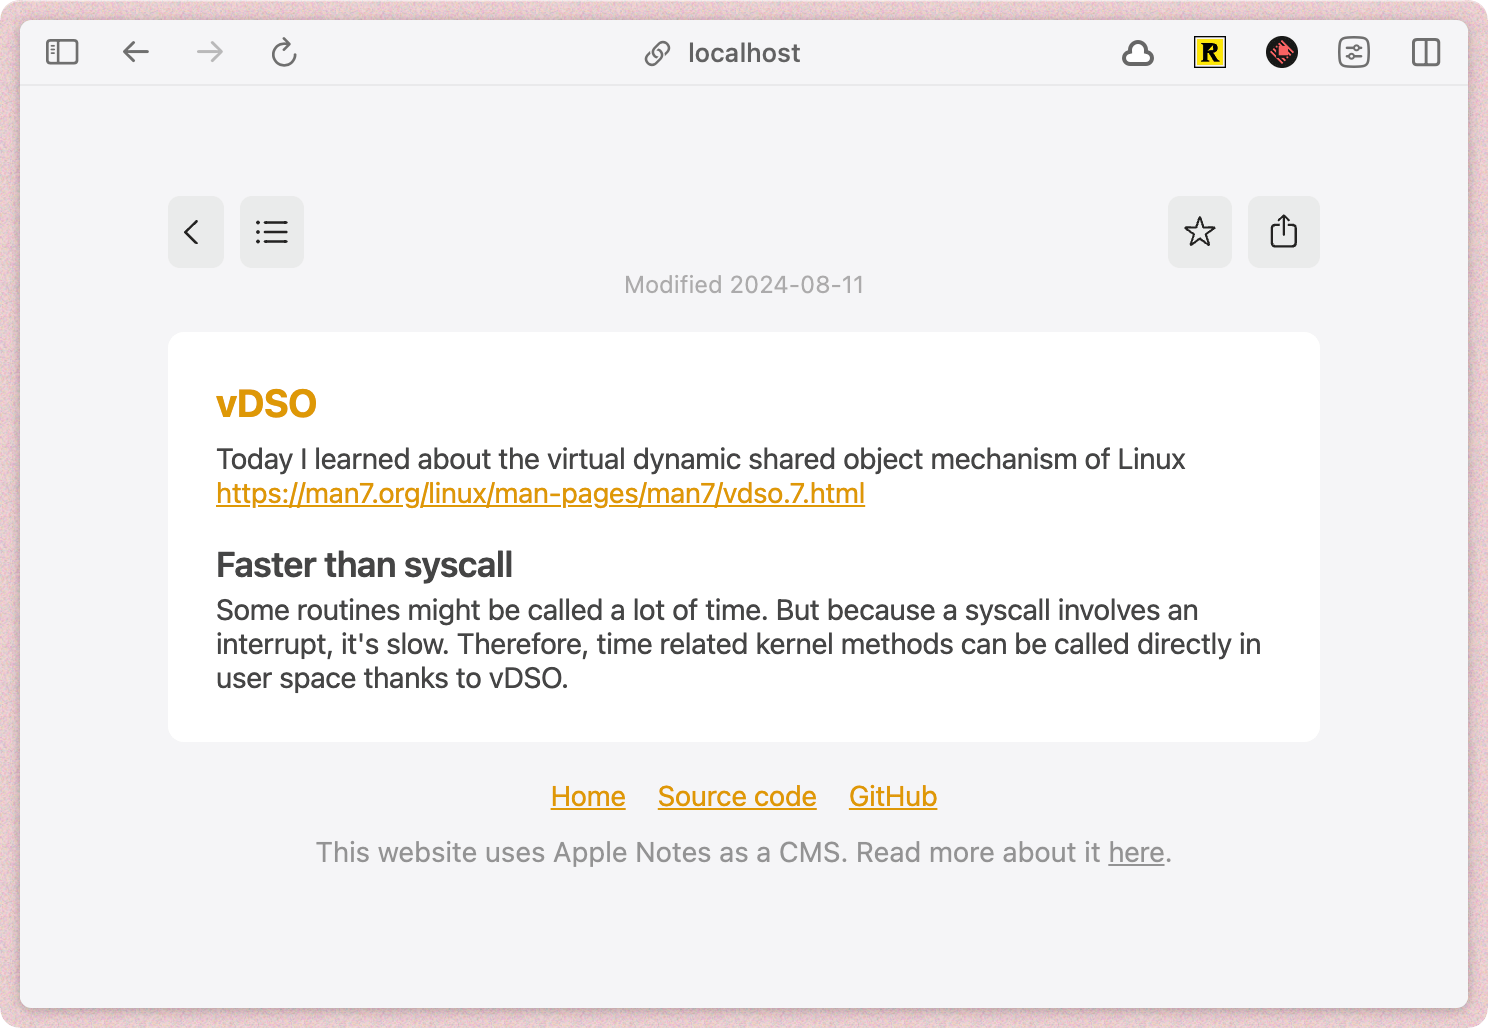
You may have already come across this meme and the superiority of Apple Notes.
Well, what if you could use it as a CMS to manage the content of your blog? That’s what I wanted to try for my « Today I learned » website. Here is the end result at https://til.julienc.me
Querying Apple Notes
We need a way to fetch the notes from Apple Notes. If you want to just read about how to do this, skip to Getting the data.
If you want to learn more about my approach, keep reading.
Writing the plugin
Anyquery is a SQLite-based query engine that can query almost anything. It has a plugin system, and I therefore created a plugin to query Apple Notes.
You might not be aware, but macOS ships with AppleScript for more than 30 years. It’s a scripting language that allows you to control applications on macOS. It could be useful to query Apple Notes.
While it uses natural language, it’s quite rigid and error messages are not very helpful. However, I know a thing or two about JavaScript, so I decided to write a script in JavaScript using its sibling, JXA. It has the same capabilities as AppleScript (controlling applications, etc.) but with syntax that is more familiar to me.
The documentation is literally inexistent, but you can find some examples on GitHub.
// Request the Notes application
const notes = Application("Notes");

// List all accounts
for (const account of notes.accounts()) {
    const accountName = account.name();
    // For each folder, list all notes
    for (const folder of account.folders()) {
        const folderName = folder.name();
        // Print a JSON object for each note
        for (const note of folder.notes()) {
            console.log(
                JSON.stringify({
                    id: note.id(),
                    name: note.name(),
                    creationDate: note.creationDate(),
                    modificationDate: note.modificationDate(),
                    htmlBody: note.body(),
                    folder: folderName,
                    account: accountName,
                }),
            );
        }
    }
}
I wrote this little script that helps me to list all notes in all folders of all accounts. Because it prints a JSON object for each note, I can easily parse it using a JSONlines parser.
You can then run this script using the osascript command:
osascript -l JavaScript script.js > notes.jsonOnce done, I just had to create a plugin for Anyquery to query the notes. You can find the plugin at https://github.com/julien040/anyquery/tree/main/plugins/notes
Getting the data
Now that the plugin is created, we can query the notes using Anyquery. Here is how to do it:
-
Install Anyquery at https://anyquery.dev/docs/#installation
-
Install the Apple Notes plugin:
anyquery install notes -
Query our notes using SQL and save it to JSON (in my case, my notes are in the folder TIL)
anyquery -q "SELECT name, html_body, modification_date
FROM notes_items WHERE folder = 'TIL';" --json > notes.json
You now have a file notes.json which contains all your notes in an array of objects. Each object has three properties:
- The name of the note (
name) - Its last modified time (
modification_date) - The body note in HTML (
html_body)
For example:
[
    {
        "name": "Example",
        "modification_date": "2024-08-11T00:00:00Z",
        "html_body": "<h1>Example</h1><p>This is an example</p>"
    }
]
Our last task is to connect the website to it
Connecting the website
Personally, I’m using Astro. Our first task will be to generate the static path for each entry.
To do so, I can just do import notes from "../../notes.json"; and pass it to export function getStaticPaths(). I’m also using a slugify function to ensure the generated URLs are valid.
// [...blog].astro
import notes from "../../notes.json";

function slugify(string: string) {
    return string
        .toLowerCase()
        .replace(/\s+/g, "-")
        .replace(/[^a-z0-9-]/g, "");
}

export function getStaticPaths() {
    return notes.map((note) => {
        return {
            params: {
                blog: slugify(note.name),
            },
        };
    });
}

const { blog } = Astro.params;
const note = notes.find((note) => slugify(note.name) === blog);
Once paths are generated, we need to write a little bit of CSS to match the Apple Notes style:
article.notes {
            color: #454545;
            font-size: 0.9rem;
            font-style: normal;
            font-weight: 400;
            line-height: normal;
            letter-spacing: -0.015rem;
        }

article.notes > div:first-child > h1 {
        color: #de9807;
        margin-bottom: 0.5rem;
}

... truncated (retrieve the full CSS in the repository at src/styles.css)
We are now done !
Conclusion
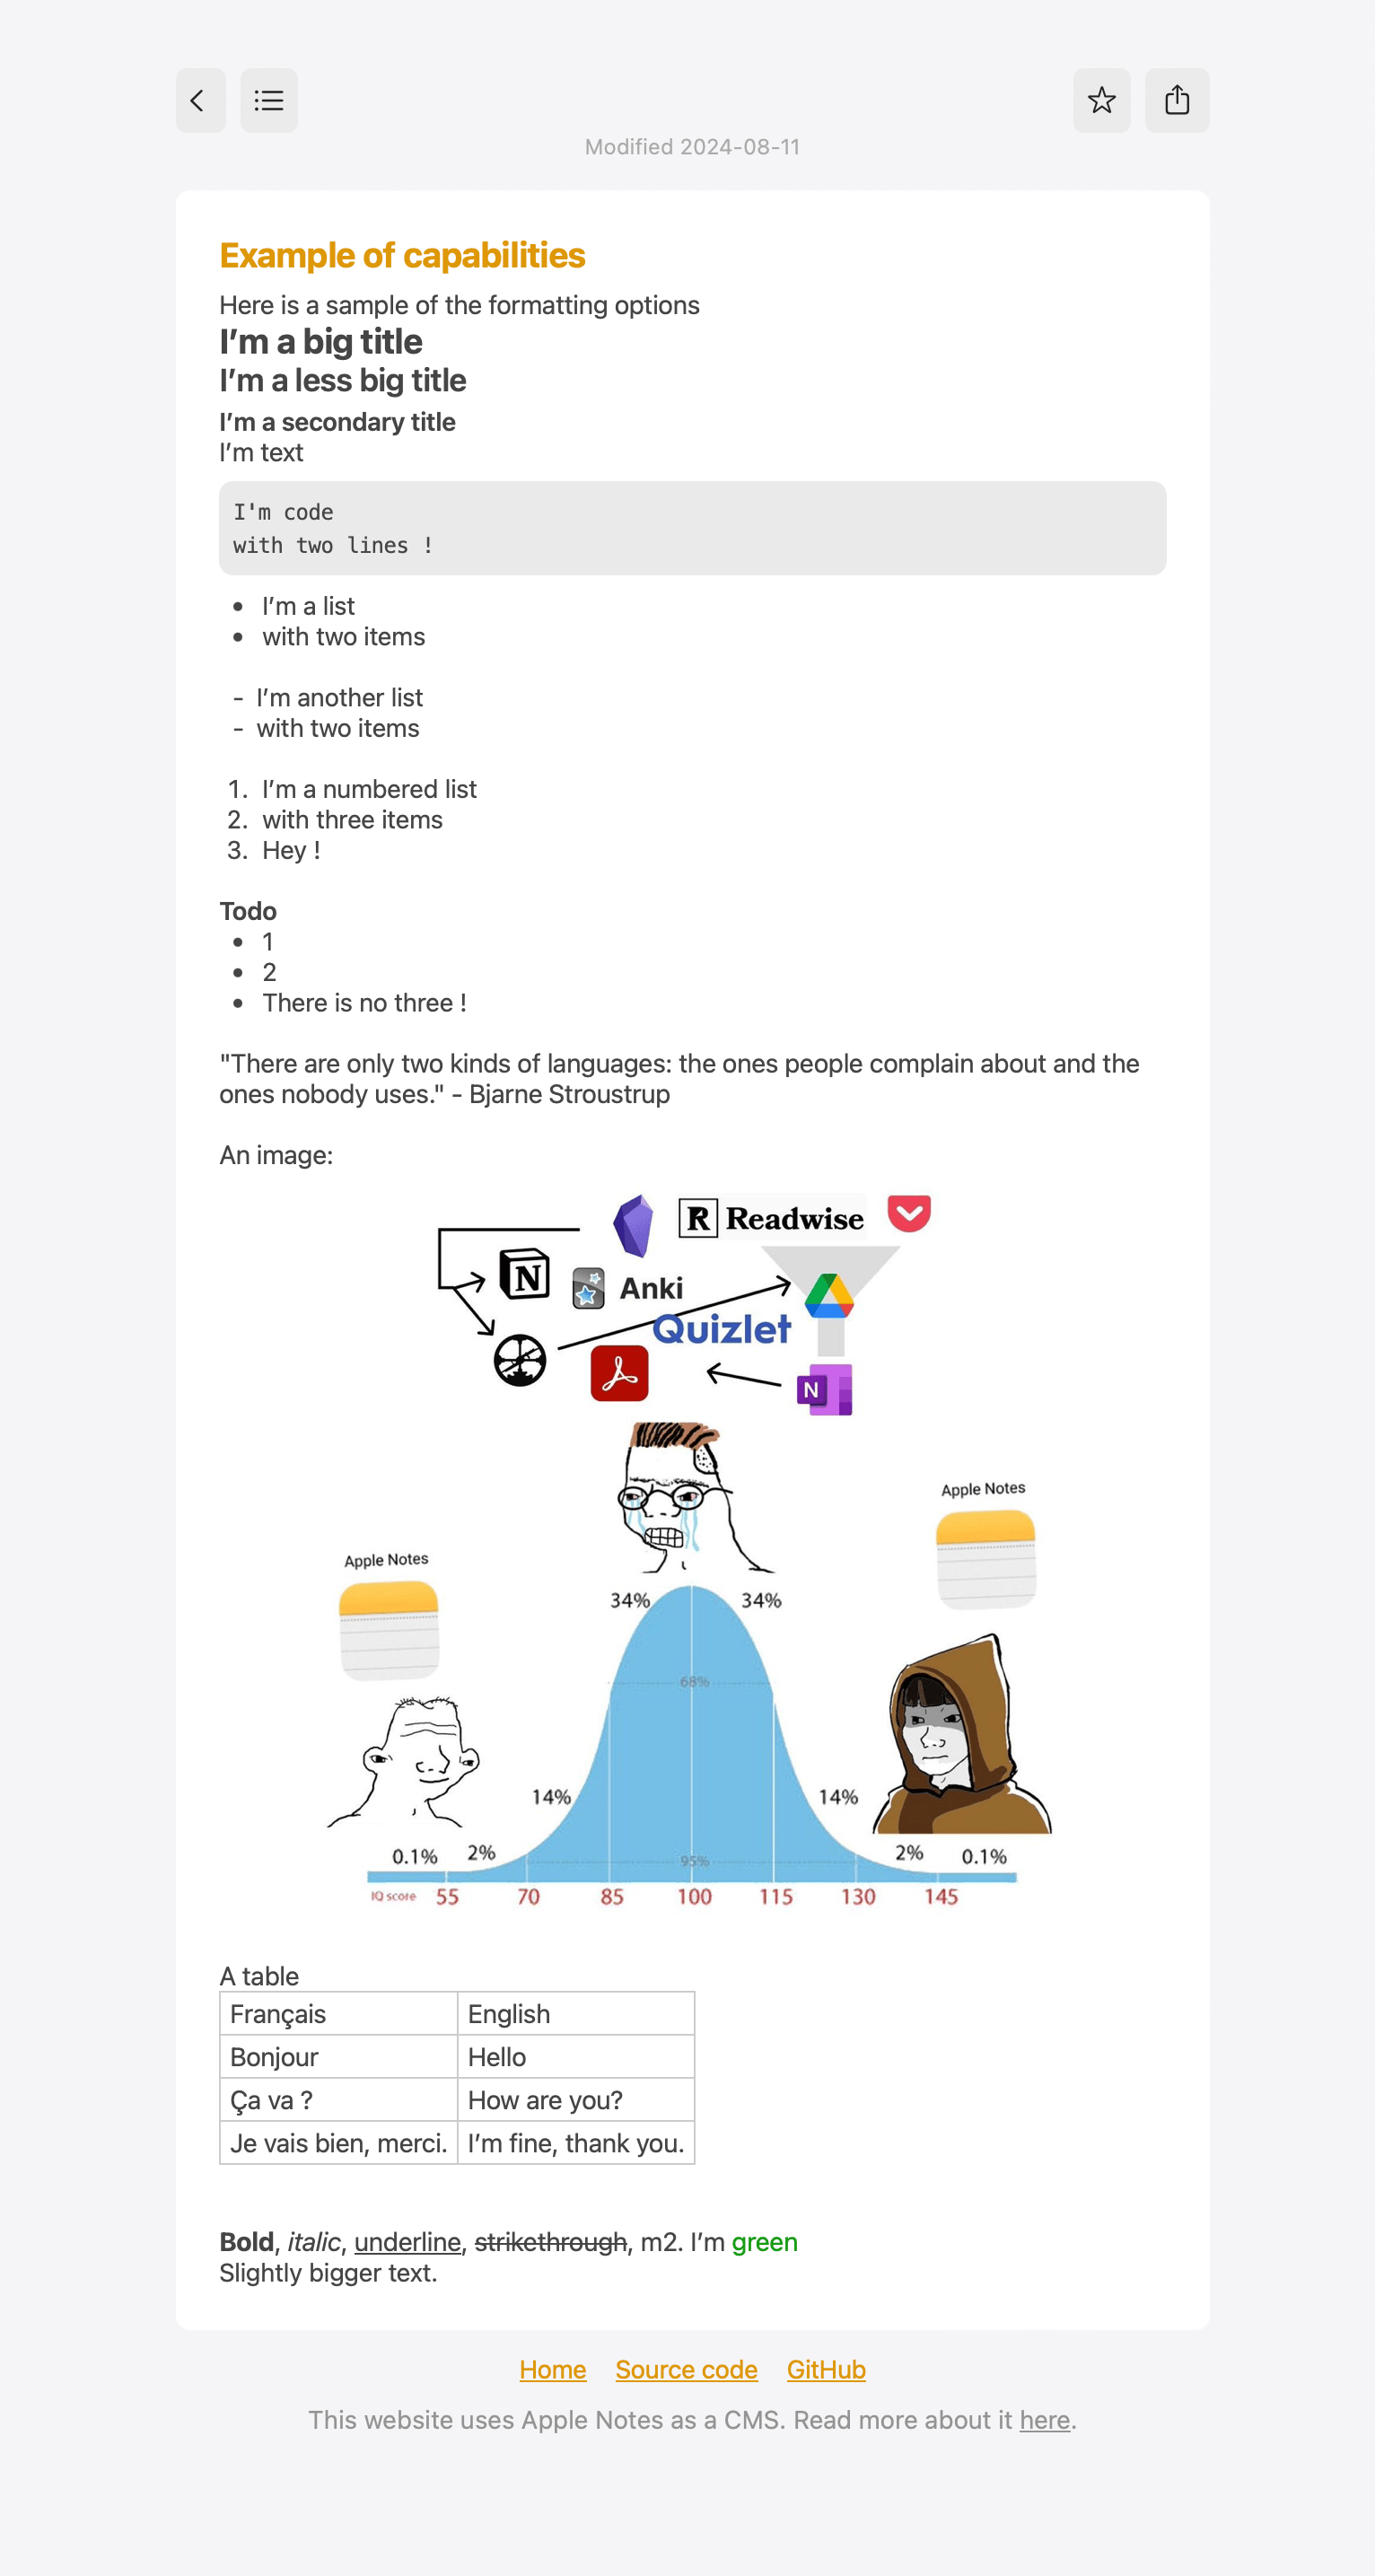
Congratulations, you’re now using Apple Notes as a CMS. It’s a powerful, collaborative CMS that is just bound to your iCloud storage limits. You can add images, tables, formatted text, code, etc.
Here is an example of the formatting options:
https://til.julienc.me/example-of-capabilities
You can deploy your own blog from Apple Notes to Vercel by doing the following:
- Clone the repository
git clone https://github.com/julien040/apple-notes-cms - Run
npm installorpnpm install - Run
chmod u+x deploy.sh - Run
vercelto init and connect the project - Run
./deploy.shto build and push the project to Vercel
Links
Source code: https://github.com/julien040/apple-notes-cms
Result: https://til.julienc.me/